Month: November 2016

Dimensions of Dimensioning

To properly analyze the building our experts need to know the exact length, width, and height of the entire façade in a computer aided design software called AutoCAD. AutoCAD first developed in 1982 to help architects, engineers, and manufacturers make their creations into digital renderings. Since then, it has become the standard for making dimensioned drawings on the computer. The digitizing process was first started at First Church last spring when I took a course on AutoCAD with architect Ted Lambros at Long Beach City College.

window-outline-pic


With help from the archive team, a portion of the class made copies of the original 1914 drawings of the First Congregational Church. The group then used those drawings as the blueprints for their final project. For bonus points, a few dedicated students met up with Ted at First Congregational to learn how to accurately dimension a building using a measuring tape and laser-measuring device.

dscn6825dscn6826


When our experts expressed a need for dimensioned drawings I was thrilled that these drawings could be used; however, drawings on paper are always different than what was actually built. I discovered this fact when I went around the lower façade with a measuring tape to double check the work that the students did. Unfortunately, the discrepancies were too significant to ignore so the process would have to be redone.

img_5890


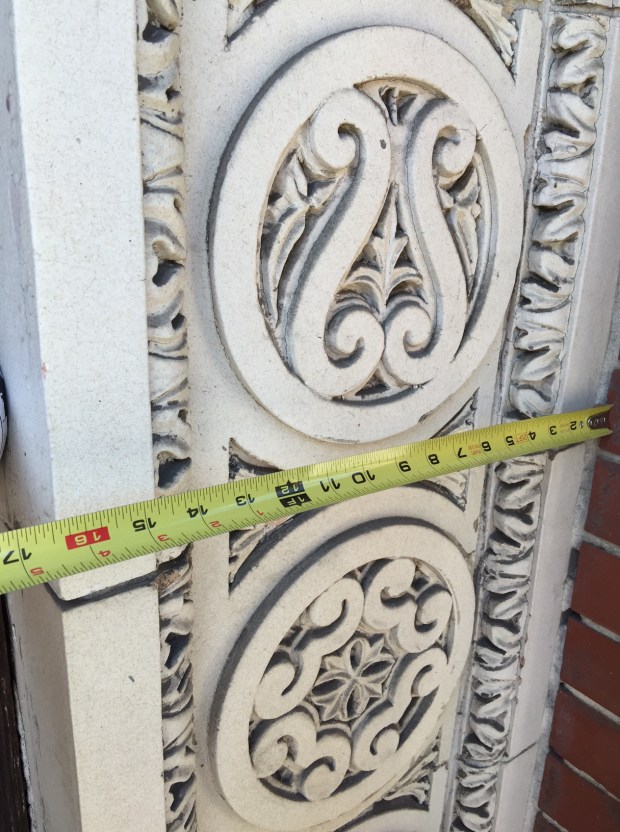
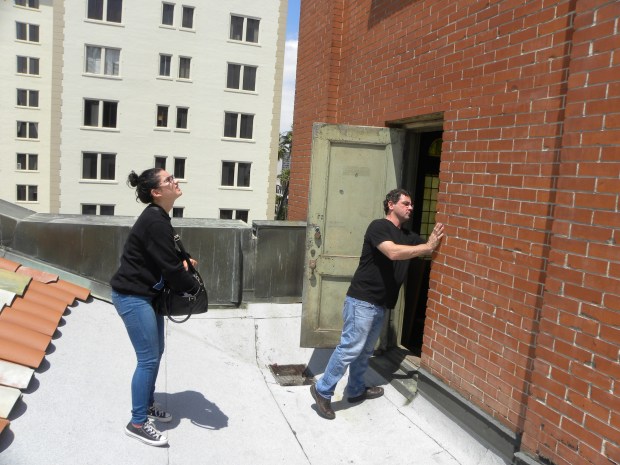
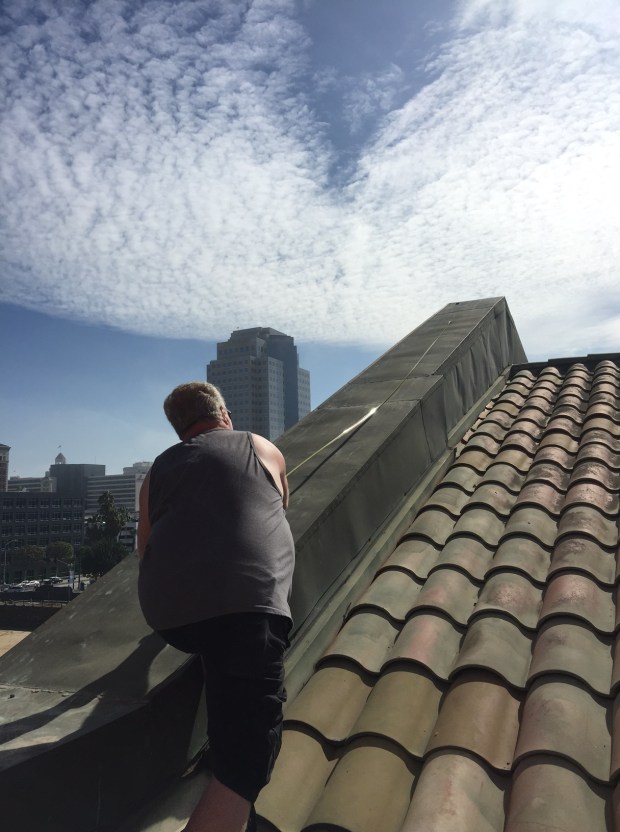
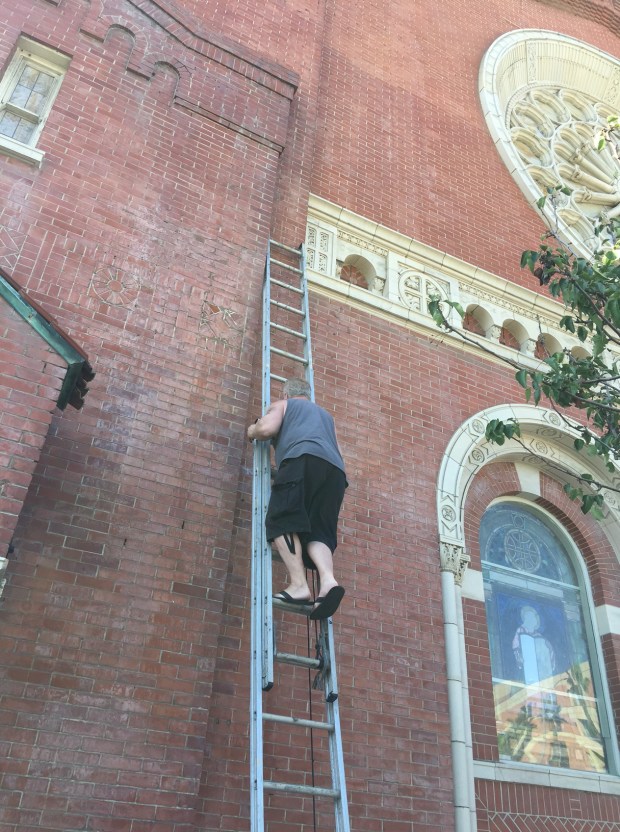
To properly measure the building to accurately redraw the building I recruited Sam, the building property manager. One of his past lives was as a mover so his skills with a tape measure far exceed expectations. Here are several photos of the daring feats we accomplished with the tape measure.

img_5886img_5888I will post the finished drawing soon once it is completed!

Sneak peek behind windows

This past week several lucky members of the First Church team received a behind the scenes look at where and how the rose window is being restored. Last Wednesday, Yvonne, Sam, Elena, and I drove up to the valley meet Mike Oades at his studio in Chatsworth. He greeted us in a room with a large central table covered in tracings of window designs.

These drawings, he explained, are used to help identify how the windows differ from one another. Despite being planned off of the same template, the stained glass windows are made by hand and set into wood frames that warped uniquely depending on their placement. The results are usually no more than 1/8-1/4” which might not seem like a lot but any tiny gap allows entrance to damaging elements such as rain and other pollutants. img_5918

In addition, our windows were not made according to ‘spec.’ Stained glass windows should have an exterior leading that acts as a frame to hold all of the pieces together. In our case there is little to no exterior leading and the unprotected glass sat between the wood and terracotta. Mike is adding the exterior leading so that in the future the panes will be better protected but the 3/8” displacement from the new leading has to be taken into account to re-center the designs for re-installation.

img_5922

All of the east teardrop windows in storage

Once the design is outlined, the panels are moved to the other portion of his studio where all of the ‘dirty’ work happens. The windows are first left to soak in a water bath for 24-48 hours. This allows most of the grime to wash off and helps soften the leading. After this process is complete the windows are removed from their baths and the leading is removed by hand to separate the pieces. The leading in our windows is so soft from age that even without soaking it can be peeled up in most places with a pinkie finger.

img_5930

The broken panes are saved and used to make patterns for new replacement pieces. Unlike many other types of artistic media, glass manufacturing has not changed much in the past 120 years so the same exact colors are still available. What has changed is our ability to manipulate and maintain exact temperatures which effects how well the stains adhere to the glass.

img_5963

The cleaned non-broken pieces are first re-fired to make sure that any original stain that was not properly fired originally will be well adhered before restoration. The colors then get freshened up with new paint and re-fired. I expected huge kilns but instead found two Easy-Bake Oven look a likes, which makes sense because the pieces are re-fired while separated, not put together. img_5938

After the glass is repainted and fired several times, the pieces are laid out together like a jigsaw puzzle to be re-leaded. I was hoping the leading would come out of a machine like squeezy cheese (his assistant jumped in laughing, ‘I wish!’) but not such luck. Mike cuts the leading, bends it by hand to fit the curve of the glass shapes, and solders it back together.


img_5962

The face panes are made of two pieces that get stacked on top of each other. These are the two separated pieces before repainting.

img_5965

The stacked panes before and after restoration.


Here is a finished teardrop that will be on view as a contrast soon!

fullsizerender